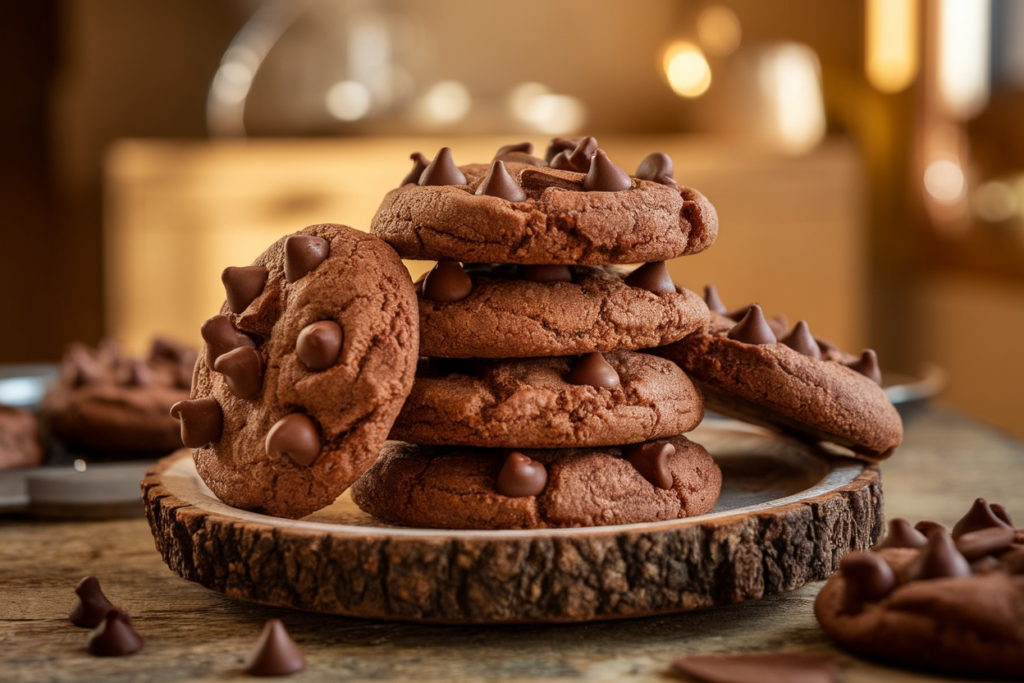
Craving the ultimate gluten-free chocolate cookies? Stop searching—you’ve found the one. These cookies are soft, chewy, and loaded with rich chocolate goodness, minus the gluten. Perfect for anyone avoiding gluten, whether it’s for health or just personal choice, they deliver all the joy of classic cookies.
Think gluten-free baking is tricky? Not with this foolproof recipe. From picking the right flour to nailing the mix, we’ll guide you through every step. By the end, you’ll have cookies so good no one will guess they’re gluten-free.
Want to make them dairy-free, vegan, or low-sugar? No problem—we’ve got easy tweaks for that too. Plus, we’re dropping pro tips to keep your cookies fresh and delicious.
Ready to bake? Grab your bowl, heat that oven, and let’s make some magic happen!
Table of Contents
Understanding Gluten-Free Baking
Baking without gluten may seem like a daunting task, especially for those accustomed to using traditional wheat flour. However, once you understand the principles of gluten-free baking, you’ll see how easy it is to create delicious treats that rival (or even surpass) their gluten-filled counterparts. This section will cover the basics of gluten-free baking, from what it means to bake gluten-free to the role of specialized flours in achieving the perfect texture for chocolate cookies.
What Does Gluten-Free Mean?
At its core, “gluten-free” means eliminating gluten, a protein found in grains like wheat, barley, and rye, from your diet or recipes. Gluten provides elasticity and structure to baked goods, helping doughs rise and maintain their shape. Unfortunately, for individuals with celiac disease or gluten sensitivity, consuming gluten can lead to a range of health issues, from digestive discomfort to severe autoimmune reactions.
In gluten-free baking, alternative flours, binders, and techniques replace gluten’s role, allowing you to create baked goods that are just as satisfying. By understanding the purpose of each ingredient, you can achieve the right balance of taste, texture, and structure in your recipes.
Challenges of Baking Without Gluten
Baking without gluten introduces unique challenges, as the protein typically contributes to:
- Structure: Gluten holds baked goods together, preventing them from crumbling. Without it, cookies can become too crumbly or fragile.
- Elasticity: Gluten provides the stretchiness that makes dough pliable, which is particularly important in bread but also affects cookie dough.
- Moisture Retention: Gluten helps trap moisture, giving baked goods their soft and chewy texture. Without it, cookies may dry out faster.
To address these challenges, gluten-free recipes often incorporate specialized ingredients, such as xanthan gum or psyllium husk, which act as binding agents to mimic gluten’s role.
The Importance of Gluten-Free Flour in Cookies
The choice of gluten-free flour is critical for success. Unlike all-purpose flour, gluten-free flours often consist of blends that combine multiple ingredients to achieve the right balance of taste and texture. Here are some key points about gluten-free flours used in cookie recipes:
- Flour Blends: Most gluten-free baking recipes use a pre-mixed flour blend, which combines flours like rice flour, tapioca starch, and potato starch. These blends are versatile and easy to use, making them a go-to choice for beginners.
- Single-Ingredient Flours: Some recipes may call for single flours, such as almond flour, coconut flour, or oat flour. While these flours add unique flavors and textures, they often require additional binders or adjustments to work well in cookies.
- Trial and Error: Finding the perfect flour or blend for cookies may take a bit of experimentation. The key is to strike a balance between starchiness, density, and flavor to achieve that classic cookie taste and feel.
In this recipe, we’ll rely on a high-quality gluten-free flour blend to simplify the process and ensure consistent results.
Tips for Success in Gluten-Free Baking
- Use a Binding Agent: Ingredients like xanthan gum, guar gum, or psyllium husk help hold gluten-free cookies together, preventing them from crumbling. Many pre-mixed gluten-free flours already include these binders.
- Mix Thoroughly but Carefully: Overmixing can lead to dense, tough cookies, even in gluten-free recipes. Stir the dough just until ingredients are combined.
- Chill the Dough: Gluten-free cookie dough often benefits from chilling. This step prevents excessive spreading during baking and enhances flavor development.
- Measure Precisely: Gluten-free baking is more sensitive to ingredient ratios, so use a kitchen scale for best results.
By keeping these principles in mind, you’ll avoid common pitfalls and bake gluten-free chocolate cookies that are every bit as indulgent and satisfying as their traditional counterparts.
Ingredients for the Perfect Gluten-Free Chocolate Cookies
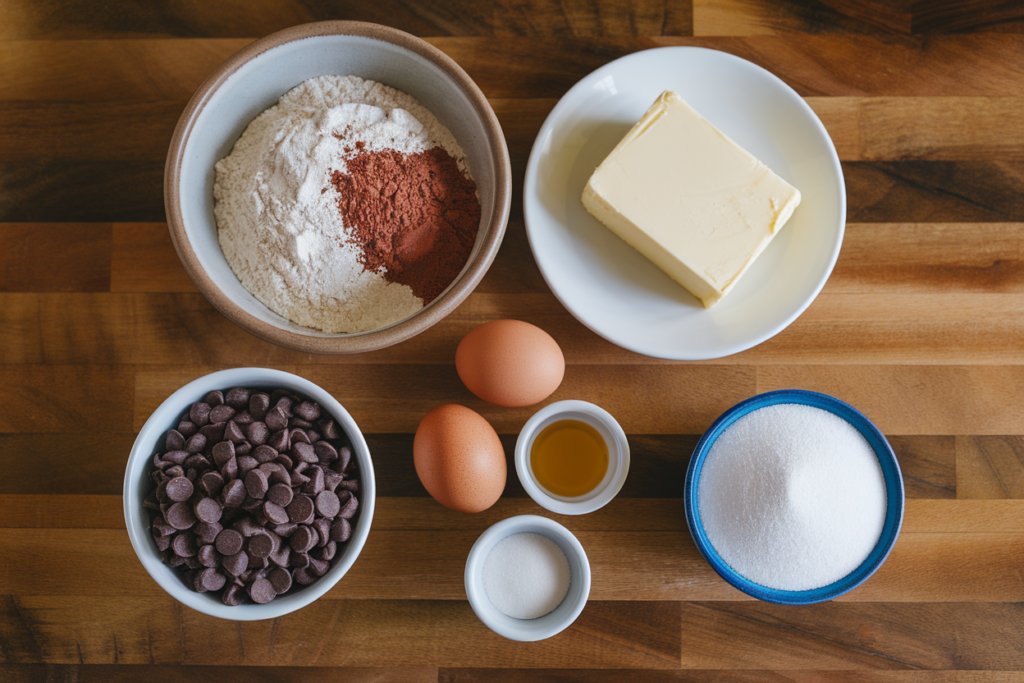
Every great cookie recipe starts with the right ingredients. When it comes to gluten-free baking, ingredient selection is even more critical because each component plays a role in replicating the taste and texture of traditional cookies. Let’s break down the essential ingredients for gluten-free chocolate cookies, explore the best types of gluten-free flours, and look at optional add-ons for customizing your cookies to perfection.
Core Ingredients Breakdown
- Gluten-Free Flour Blend
The foundation of this recipe is a high-quality gluten-free flour blend. These blends typically contain a combination of rice flour, tapioca starch, and potato starch, providing a neutral flavor and a light, tender crumb. Look for one that includes xanthan gum or guar gum for binding; otherwise, you’ll need to add a binding agent separately. - Cocoa Powder
Rich, unsweetened cocoa powder is key for achieving a deep chocolate flavor. Dutch-processed cocoa powder works particularly well, as it has a smoother and less acidic taste compared to natural cocoa powder. - Chocolate Chips or Chunks
Semi-sweet or dark chocolate chips add bursts of melted chocolate in every bite. For a richer experience, consider chopping up a high-quality chocolate bar. - Butter or Dairy-Free Alternative
Softened unsalted butter is used for flavor and texture, but you can substitute it with coconut oil or vegan butter for a dairy-free option. Ensure the fat is softened (not melted) to properly cream with the sugar. - Sugars
A combination of granulated sugar and brown sugar is used to create the ideal balance of sweetness and moisture. The brown sugar adds a chewy texture and a hint of molasses flavor, while the granulated sugar contributes to crisp edges. - Egg or Egg Substitute
Eggs provide structure and moisture to the cookies. For a vegan option, use a flax egg (1 tablespoon of ground flaxseed mixed with 2.5 tablespoons of water) or a store-bought egg replacer. - Vanilla Extract
Vanilla enhances the overall flavor and complements the chocolate beautifully. Use pure vanilla extract for the best results. - Leavening Agents
Baking soda or a combination of baking soda and baking powder is used to give the cookies a slight rise and prevent them from being overly dense. - Salt
A pinch of salt balances the sweetness and intensifies the chocolate flavor. For a gourmet touch, sprinkle flaky sea salt on top of the cookies before baking.
Recommended Gluten-Free Flour Types
While a pre-mixed gluten-free flour blend is the easiest option, you can also experiment with custom blends or single flours for unique textures and flavors. Here are some popular gluten-free flours and their roles in cookie recipes:
- Almond Flour: Adds a nutty flavor and a soft, moist texture. Best used in combination with other flours.
- Coconut Flour: Highly absorbent and flavorful but must be used sparingly to avoid dryness.
- Oat Flour: Made from finely ground gluten-free oats, this flour adds a hearty, chewy texture to cookies.
- Tapioca Starch: Adds elasticity and chewiness to gluten-free baked goods. Often included in flour blends.
- Chickpea Flour: High in protein and slightly nutty, this flour works well in recipes where additional structure is needed.
Optional Add-Ons for Extra Flavor
- Nuts: Add chopped pecans, walnuts, or almonds for a crunchy texture. Toasting the nuts beforehand enhances their flavor.
- Dried Fruits: Incorporate dried cranberries, cherries, or raisins for a chewy contrast to the chocolate.
- Spices: A pinch of cinnamon or espresso powder can elevate the chocolate flavor.
- Coconut Flakes: Unsweetened shredded coconut adds texture and a hint of tropical sweetness.
- Peanut Butter or Nut Butter: Swirl in a dollop of peanut butter for a richer, creamier cookie.
Why These Ingredients Matter
Every ingredient in this recipe has a purpose:
- The gluten-free flour provides the base and structure.
- Cocoa powder and chocolate chips create the signature flavor.
- Butter (or its alternatives) adds richness and tenderness.
- Eggs (or substitutes) bind the ingredients and add moisture.
- Sugars contribute sweetness, chewiness, and crisp edges.
By selecting high-quality versions of these ingredients, you’ll ensure your cookies are not just gluten-free but also irresistibly delicious.
Step-by-Step Guide to Making Gluten-Free Chocolate Cookies
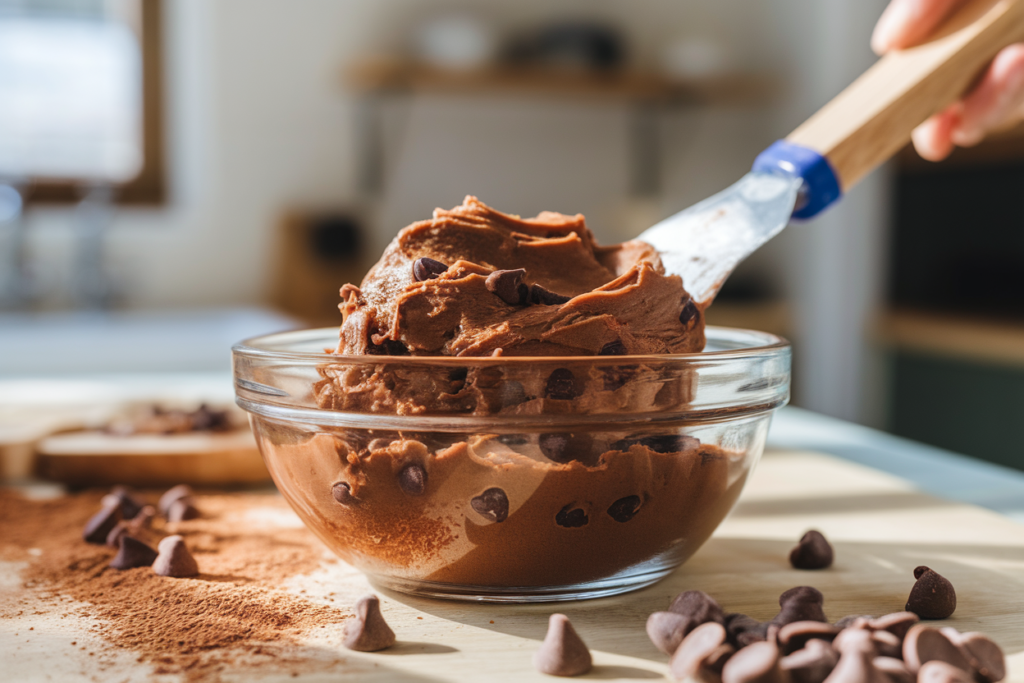
Now that you’ve gathered your ingredients, it’s time to bring the recipe to life. Follow this detailed, step-by-step guide to ensure your gluten-free chocolate cookies turn out perfectly every time. From preparation to baking, this process is designed to help even beginners achieve delicious results.
Preparation of Tools and Ingredients
Before diving into the mixing and baking process, set yourself up for success by preparing your workspace and tools.
- Preheat the Oven:
Set your oven to 350°F (175°C) to ensure it’s at the right temperature by the time your cookies are ready to bake. - Line Your Baking Sheets:
Use parchment paper or silicone baking mats to prevent sticking and promote even baking. This also makes cleanup a breeze. - Measure Ingredients Accurately:
- Use a kitchen scale for precision, especially when working with gluten-free flour. Gluten-free baking is more sensitive to ingredient ratios than traditional recipes.
- Bring cold ingredients, like butter and eggs, to room temperature to ensure they mix evenly.
- Gather Mixing Tools:
- You’ll need a mixing bowl, a whisk or electric mixer, and a spatula. A cookie scoop is optional but helpful for creating evenly sized cookies.
Mixing and Combining Ingredients
- Cream the Butter and Sugars:
- In a large mixing bowl, combine 1/2 cup (1 stick) of softened butter (or a dairy-free alternative) with 1/2 cup of granulated sugar and 1/2 cup of brown sugar.
- Use an electric mixer or whisk to beat the mixture until it’s light, fluffy, and creamy—this step ensures your cookies will have a tender texture.
- Add the Wet Ingredients:
- Beat in 1 large egg (or your egg substitute) and 1 teaspoon of pure vanilla extract.
- Mix until fully incorporated, but avoid overmixing, as it can affect the cookie’s texture.
- Combine the Dry Ingredients:
- In a separate bowl, whisk together 1 3/4 cups of gluten-free flour blend, 1/4 cup of unsweetened cocoa powder, 1/2 teaspoon of baking soda, and 1/4 teaspoon of salt.
- Sift the mixture to remove any lumps, especially in the cocoa powder, to ensure a smooth dough.
- Incorporate the Dry Ingredients:
- Gradually add the dry mixture to the wet ingredients, mixing on low speed until just combined. Avoid overmixing to prevent dense cookies.
- Fold in the Chocolate Chips:
- Stir in 1 cup of semi-sweet or dark chocolate chips using a spatula. Reserve a few chips to press onto the tops of the cookies before baking for a professional touch.
Baking Tips for the Perfect Texture
- Chill the Dough:
- Chill the dough in the refrigerator for at least 30 minutes. This step is crucial in gluten-free baking, as it helps the cookies maintain their shape and prevents excessive spreading.
- Scoop the Dough:
- Use a cookie scoop or a tablespoon to portion the dough onto the prepared baking sheets. Leave about 2 inches of space between each cookie to allow for spreading.
- Press and Shape:
- If desired, gently flatten the dough balls slightly with your palm or the back of a spoon. This step is optional but can help create a more uniform cookie shape.
- Bake:
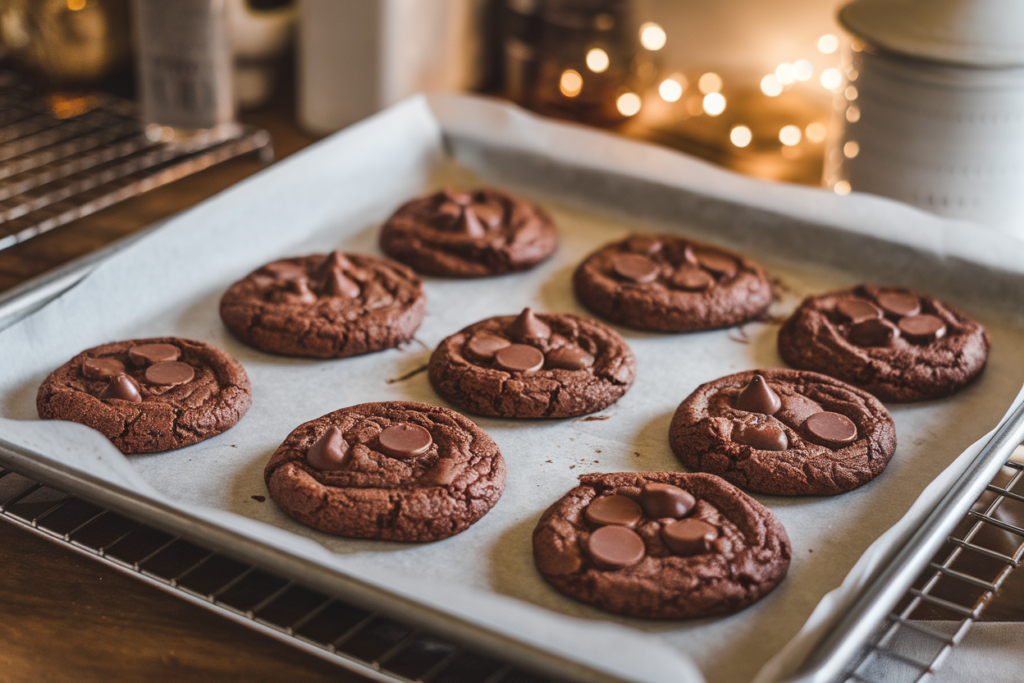
- Place the baking sheet in the preheated oven and bake for 10–12 minutes, or until the edges are set and the centers still look slightly soft. Gluten-free cookies often appear underbaked when they’re done, but they’ll firm up as they cool.
- Cool:
- Allow the cookies to cool on the baking sheet for about 5 minutes, then transfer them to a wire rack to cool completely. This prevents breakage and ensures the centers set properly.
Common Mistakes to Avoid
- Skipping the Chill Step:
Skipping the chilling process can lead to cookies that spread too much, becoming thin and crispy instead of chewy. - Overbaking:
Gluten-free cookies can dry out quickly if overbaked. Remove them when the centers are still soft for a perfectly chewy texture. - Using the Wrong Flour Blend:
Not all gluten-free flour blends are created equal. Be sure to choose one labeled for baking, as some are formulated specifically for bread or other purposes. - Ignoring Ingredient Temperature:
Using cold butter or eggs can cause uneven mixing and affect the texture of your cookies.
With these steps, you’ll be able to bake a batch of gluten-free chocolate cookies that are soft, chewy, and bursting with rich chocolate flavor. Best of all, they’re so good that no one will even realize they’re gluten-free.
Customizing the Recipe for Dietary Preferences
One of the best things about baking gluten-free chocolate cookies is how versatile the recipe can be. With a few thoughtful modifications, you can easily adapt this recipe to suit various dietary preferences and lifestyles without sacrificing flavor or texture. Whether you’re catering to vegan friends, reducing sugar intake, or adding your favorite mix-ins, this guide will help you customize the cookies to perfection.
Making It Vegan
Switching to a vegan version of gluten-free chocolate cookies is simple and effective with a few substitutions:
- Replace the Egg:
Use a flaxseed or chia seed “egg” as a binding agent.- Flaxseed Egg: Mix 1 tablespoon of ground flaxseed with 2.5 tablespoons of water. Let it sit for 5–10 minutes until it forms a gel-like consistency.
- Chia Seed Egg: Follow the same process using chia seeds instead of flaxseed.
- Swap the Butter:
Replace butter with an equal amount of vegan butter or coconut oil. Be sure to use softened coconut oil to achieve a creamy texture when creaming with sugar. Vegan margarine is another great option. - Use Vegan Chocolate Chips:
Check the labels of your chocolate chips to ensure they’re dairy-free. Brands like Enjoy Life or Lily’s offer vegan chocolate chips that melt beautifully. - Double-Check Other Ingredients:
Some gluten-free flour blends may contain dairy or animal-derived ingredients, so always verify that your flour and other components are 100% vegan.
Adding Nuts or Fruits
Enhancing the texture and flavor of your cookies with nuts or dried fruits is a fantastic way to make them even more indulgent and personalized.
- Chopped Nuts:
Add 1/2 cup of chopped nuts to the dough for a satisfying crunch.- Best Options: Pecans, walnuts, or almonds.
- Preparation Tip: Toast the nuts lightly before adding them to enhance their flavor and aroma.
- Dried Fruits:
Incorporate 1/2 cup of dried fruits for a chewy, tangy twist.- Best Choices: Dried cranberries, cherries, or apricots.
- Pro Tip: Chop larger fruits into small pieces to distribute them evenly in the dough.
- Flavor Pairings:
For a classic combination, mix dark chocolate chips with chopped pecans. Or try white chocolate chips with dried cranberries for a holiday-inspired treat.
Sugar-Free Alternatives
For those looking to reduce their sugar intake, there are several ways to make the recipe healthier without compromising on taste:
- Use Sugar Substitutes:
Replace granulated and brown sugar with sugar alternatives such as:- Erythritol or Monk Fruit Sweetener: Both are great 1:1 replacements for sugar. They provide sweetness without adding calories.
- Coconut Sugar: A natural, lower-glycemic alternative to regular sugar that adds a hint of caramel-like flavor.
- Opt for Sugar-Free Chocolate Chips:
Brands like Lily’s offer sugar-free chocolate chips sweetened with stevia, which work perfectly in this recipe. - Adjust for Sweetness:
If using less sweetened chocolate or sugar substitutes, you may want to add an extra splash of vanilla extract or a pinch more salt to enhance the flavor balance.
Experimenting with Different Textures and Flavors
- Add a Pinch of Spice:
- For a subtle warmth, add 1/4 teaspoon of cinnamon or a dash of nutmeg.
- For a bold twist, try a pinch of cayenne pepper to complement the chocolate with a slight kick.
- Coconut Lovers’ Variation:
- Mix in 1/2 cup of unsweetened shredded coconut for added texture and tropical flavor.
- Espresso Infusion:
- Add 1 teaspoon of instant espresso powder to intensify the chocolate flavor.
- Peanut Butter Swirl:
- Drop dollops of creamy peanut butter into the dough before baking. Use a toothpick or knife to create swirls for a marbled effect.
Tips for Customizing the Recipe Successfully
- Don’t Overload the Dough:
When adding mix-ins like nuts or fruits, avoid exceeding 1 cup total to prevent overwhelming the dough and affecting its structure. - Balance the Flavors:
If you add a particularly sweet ingredient, like white chocolate chips, consider reducing the sugar slightly in the dough to maintain a balanced sweetness. - Test a Small Batch:
If you’re experimenting with a significant modification, bake a small test batch first to ensure the results meet your expectations.
Why Customization Matters
Customizing a recipe allows you to tailor it to your dietary needs and flavor preferences, ensuring that everyone can enjoy the cookies regardless of restrictions. Plus, experimenting with add-ons and flavors keeps the recipe fresh and exciting, making it a go-to for any occasion.
Storage Tips for Gluten-Free Chocolate Cookies
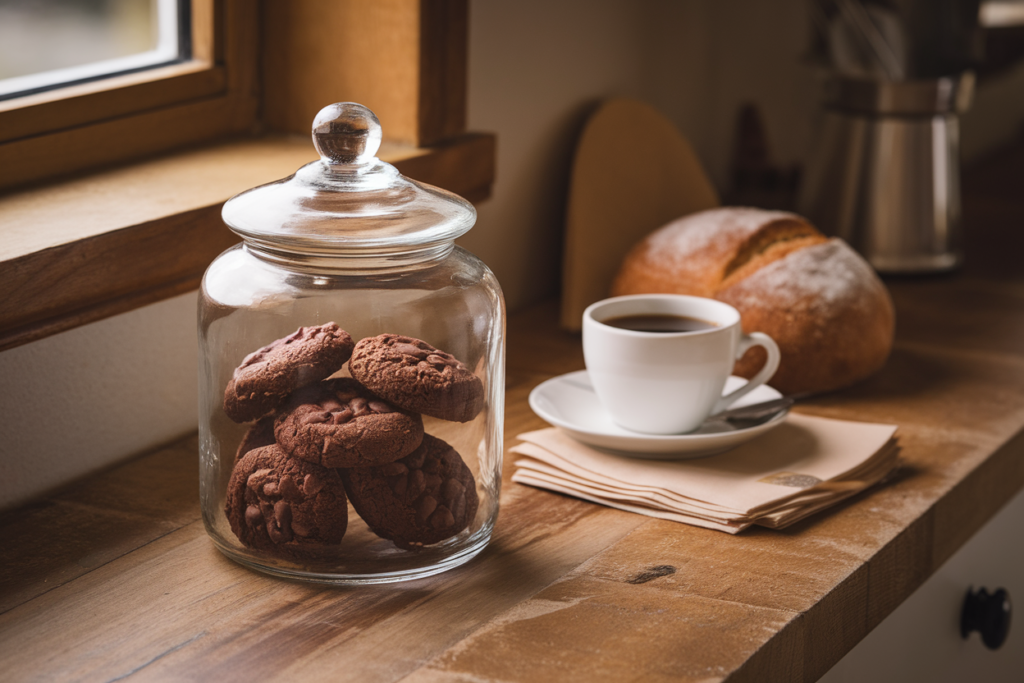
Baking a batch of gluten-free chocolate cookies is a satisfying experience, but knowing how to store them properly ensures you can enjoy them fresh for days (or even weeks) to come. Gluten-free baked goods can sometimes dry out faster than their gluten-containing counterparts, so special care is needed to maintain their texture and flavor. This section will guide you through the best practices for storing, freezing, and reheating your cookies to keep them as delicious as the day they were baked.
How to Keep Cookies Fresh
- Cool Completely Before Storing
- Allow the cookies to cool fully on a wire rack before transferring them to any storage container. Storing warm cookies can trap steam, leading to sogginess or uneven texture.
- Use Airtight Containers
- Store cookies in an airtight container to lock in moisture and protect them from air exposure. Plastic or glass containers with tight-sealing lids work best.
- To prevent cookies from sticking together, layer them with parchment or wax paper.
- Room Temperature Storage
- Gluten-free cookies stored at room temperature typically stay fresh for 3–4 days.
- Avoid placing the container in direct sunlight or near heat sources, as this can cause the chocolate to melt and the cookies to lose their texture.
- Add a Slice of Bread
- Place a slice of white bread in the container with the cookies. The bread helps maintain moisture, preventing the cookies from becoming dry and crumbly.
Freezing for Long-Term Use
If you want to make your cookies ahead of time or save leftovers for later, freezing is an excellent option. Gluten-free chocolate cookies freeze well and can be stored for up to 3 months.
- Freezing Baked Cookies
- Arrange the cooled cookies in a single layer on a baking sheet and place them in the freezer for about 1 hour, or until they are firm.
- Transfer the frozen cookies to a freezer-safe bag or airtight container. Label the bag with the date to keep track of freshness.
- For added protection, wrap each cookie individually in plastic wrap before placing them in the bag. This prevents freezer burn and preserves their flavor.
- Freezing Cookie Dough
- Portion the dough into individual balls using a cookie scoop or tablespoon. Place them on a baking sheet lined with parchment paper and freeze until solid.
- Transfer the frozen dough balls to a freezer-safe bag or container.
- When ready to bake, you can bake the dough balls straight from the freezer. Just add an extra 1–2 minutes to the baking time.
- Thawing Frozen Cookies
- To enjoy frozen cookies, simply remove them from the freezer and let them sit at room temperature for about 30 minutes.
- For a fresh-from-the-oven feel, warm the cookies in a preheated oven at 300°F (150°C) for 5–7 minutes.
Reheating for Best Results
Reheating gluten-free chocolate cookies can restore their fresh-baked softness and enhance their chocolatey aroma.
- Microwave Method
- Place a cookie on a microwave-safe plate and heat it for 10–15 seconds. Be careful not to overheat, as it can make the cookie tough.
- For extra softness, place a damp paper towel over the cookie while microwaving.
- Oven Method
- Preheat your oven to 300°F (150°C). Place the cookies on a baking sheet and heat them for 5–7 minutes.
- This method is ideal for larger batches and helps retain the cookies’ original texture.
Tips for Maintaining Freshness
- Avoid Refrigeration
- Unlike freezing, storing cookies in the refrigerator can dry them out quickly. Refrigeration is not recommended unless your kitchen is particularly warm or humid.
- Separate Strong Flavors
- If storing cookies with different flavors (e.g., mint chocolate and plain chocolate), use separate containers to avoid flavor mixing.
- Test for Staleness
- If your cookies have been stored for a while and seem dry or stale, a quick reheat in the oven or microwave can revive them.
Why Proper Storage Matters
Gluten-free cookies are more prone to drying out due to the absence of gluten, which naturally helps retain moisture. Proper storage ensures that your cookies maintain their soft, chewy texture and rich chocolate flavor for as long as possible. By following these tips, you can enjoy fresh, delicious gluten-free chocolate cookies whenever the craving strikes.
Frequently Asked Questions (FAQs)
When it comes to gluten-free baking, many questions arise, especially for those new to the process. Here, we’ve compiled answers to the most common questions about making gluten-free chocolate cookies to help you achieve perfect results every time.
Can I Use Regular Flour Instead of Gluten-Free Flour?
No, this recipe is specifically designed for gluten-free flour blends. Regular wheat-based flour behaves very differently due to the presence of gluten, which gives structure and elasticity to baked goods. Substituting it would require significant adjustments to the ingredient ratios, and the results would not be gluten-free.
If you’re not restricted to a gluten-free diet and want to use regular flour, you could try a separate recipe for chocolate cookies that’s tailored to wheat flour.
What Is the Best Type of Gluten-Free Flour for Cookies?
A high-quality gluten-free all-purpose flour blend is the best choice for cookies. These blends often include a mix of rice flour, tapioca starch, potato starch, and xanthan gum to mimic the properties of traditional flour. Some recommended brands include:
- Bob’s Red Mill Gluten-Free 1-to-1 Baking Flour
- King Arthur Gluten-Free Measure for Measure Flour
- Cup4Cup Gluten-Free Flour
If you prefer to make your own blend, a mix of 2 parts rice flour, 1 part tapioca starch, and 1 part potato starch works well for most cookie recipes.
Why Do My Gluten-Free Cookies Turn Out Crumbly?
Crumbly gluten-free cookies are often the result of insufficient binding or overbaking. Here are a few tips to avoid this problem:
- Add a Binding Agent: Ensure your flour blend includes xanthan gum or guar gum. If it doesn’t, add about 1/2 teaspoon per cup of flour.
- Don’t Overbake: Gluten-free cookies can dry out quickly, so bake them just until the edges are set, even if the centers look slightly soft.
- Measure Accurately: Using too much flour can make the dough dry. Be precise with your measurements and consider weighing ingredients for consistency.
How Can I Ensure the Cookies Taste Like Traditional Ones?
To achieve the same delicious flavor and texture as traditional cookies, focus on these key points:
- Use High-Quality Ingredients: Opt for premium cocoa powder, pure vanilla extract, and good-quality chocolate chips. These elevate the flavor profile significantly.
- Chill the Dough: Letting the dough rest in the fridge for at least 30 minutes improves flavor development and texture.
- Add Extra Moisture: If the dough seems dry, add a splash of milk or a tablespoon of melted butter to improve consistency.
Can I Add Other Flavors to the Recipe?
Absolutely! Gluten-free chocolate cookies are highly versatile and can be customized with additional flavors. Here are some ideas:
- Mint Flavor: Add 1/4 teaspoon of peppermint extract for a refreshing twist.
- Peanut Butter: Swirl in 1/4 cup of peanut butter for a nutty touch.
- Spices: Incorporate a dash of cinnamon or espresso powder to deepen the chocolate flavor.
Just be mindful not to overpower the chocolate flavor, as it is the star of this recipe.
Are Gluten-Free Cookies Healthier Than Regular Ones?
Not necessarily. While gluten-free cookies are an excellent option for those with gluten intolerance or celiac disease, they may not automatically be healthier. Many gluten-free recipes use starches and sugar to compensate for the absence of gluten, which can make them similar in calorie and carbohydrate content to traditional cookies.
To make the recipe healthier, consider:
- Using coconut sugar or monk fruit sweetener as a sugar substitute.
- Adding nutrient-rich ingredients like almond flour or ground flaxseed.
- Using dark chocolate chips with a high cocoa percentage for antioxidant benefits.
How Should I Store Leftover Gluten-Free Cookie Dough?
Leftover gluten-free cookie dough can be stored in the refrigerator or freezer:
- Refrigerator: Place the dough in an airtight container and refrigerate for up to 3 days. Let it come to room temperature before baking.
- Freezer: Portion the dough into balls and freeze them on a baking sheet. Once solid, transfer the dough balls to a freezer-safe bag and store for up to 3 months. Bake directly from frozen, adding a couple of minutes to the baking time.
By addressing these common concerns, you’ll be fully equipped to bake gluten-free chocolate cookies that turn out beautifully every time. Whether you’re troubleshooting crumbly dough or exploring new flavor combinations, the answers here should set you on the path to success.
Conclusion
Gluten-free baking may seem intimidating at first, but with the right ingredients, techniques, and a foolproof recipe like this one, you can create cookies that are every bit as delicious as their traditional counterparts. These gluten-free chocolate cookies are rich, chewy, and bursting with chocolaty goodness, making them a treat everyone will love—whether they follow a gluten-free diet or not.
By understanding the role of key ingredients, like gluten-free flour blends and binding agents, and following the step-by-step guide, you can confidently bake cookies with perfect texture and flavor. Plus, with the customization options provided, you can tailor the recipe to suit dietary preferences or add your favorite mix-ins, like nuts, dried fruits, or even a touch of spice. Proper storage and reheating tips ensure you can savor your cookies at their best for days—or freeze them for future indulgence.
Gluten-free baking is not just about substituting ingredients; it’s about exploring new possibilities and discovering recipes that bring joy to everyone, regardless of dietary restrictions. So, grab your ingredients, preheat your oven, and bake a batch of these gluten-free chocolate cookies. Trust us—they won’t last long on the plate!
For more gluten-free inspiration, explore alternative gluten-free desserts to expand your baking repertoire.
Enjoy baking and sharing these delicious cookies with friends and family!

